Painting the interior of a home is one of the most transformative ways to refresh your living space. A fresh coat of paint can instantly breathe new life into a room, highlight architectural features, and even influence the mood and energy of the space. However, achieving a professional and long-lasting finish requires careful planning, the right materials, and precise execution. In this guide, we will explore every step of the process, from preparation to finishing touches, ensuring your interior painting project is a success.
Understanding the Importance of Preparation
One of the most critical steps in any painting project is preparation. While it may seem time-consuming, preparing your surfaces properly ensures that the paint adheres well, lasts longer, and looks smooth. Start by clearing the room of furniture or moving it to the center and covering it with drop cloths. Remove any wall fixtures, switch plates, or outlet covers to achieve a clean, unobstructed surface.
Next, inspect the walls and ceilings for any imperfections. Cracks, holes, or dents should be filled with spackle or a suitable filler and sanded smooth. Sanding is not just for repairs—it also helps to lightly roughen glossy surfaces, allowing the primer and paint to adhere better. Dust and dirt can interfere with paint adhesion, so wiping the surfaces with a damp cloth or mild cleaning solution is highly recommended.
Priming is another essential aspect of preparation. A quality primer seals the surface, prevents stains from bleeding through, and provides a uniform base for the topcoat. Certain surfaces, such as new drywall or repaired areas, almost always require priming. Choosing the right primer for your wall material and paint type can make a significant difference in the final result.
Choosing the Right Paint
Selecting the appropriate paint is a crucial decision in interior painting. Paints vary in sheen, texture, and durability, and each type serves a specific purpose. For instance, flat or matte paints provide a non-reflective finish that hides imperfections but are harder to clean. Eggshell or satin finishes offer a subtle sheen and are easier to maintain, making them ideal for living rooms and bedrooms. Semi-gloss and gloss paints are highly durable and suitable for high-traffic areas such as kitchens, bathrooms, or trim work.
Color choice is equally important, as it influences the overall mood and perception of space. Lighter colors can make a room feel more open and airy, while darker shades add coziness and drama. Consider how natural and artificial lighting affects your chosen color, as the same paint can look different depending on the time of day and type of light in the room. Many professionals recommend testing paint samples on a small section of the wall before committing to a full room, allowing you to observe the color in different lighting conditions.
Essential Tools and Equipment
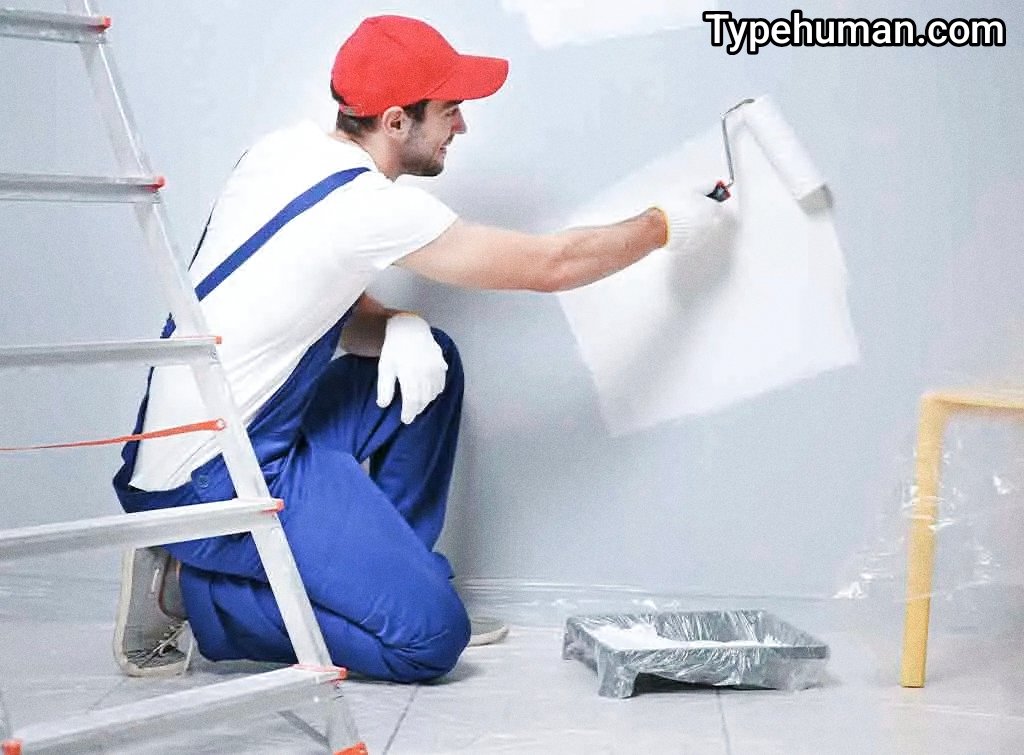
Achieving a professional finish in interior painting requires the right tools. Brushes and rollers are the primary instruments, but selecting the correct size and type can dramatically affect the outcome. High-quality synthetic brushes are suitable for most paints and deliver smooth edges, while natural bristle brushes are excellent for oil-based paints. Rollers come in various nap lengths, with short naps ideal for smooth surfaces and longer naps designed for textured walls or ceilings.
Additional tools include painter’s tape to protect edges and trim, drop cloths to shield floors and furniture, paint trays, and extension poles for high areas. Sanding sponges, putty knives, and stir sticks are also necessary for preparation and paint mixing. While it may seem like an investment, high-quality tools not only make the job easier but also contribute to a superior final result.
Techniques for a Flawless Finish
Achieving a flawless finish in interior painting is both an art and a science. Start by cutting in around edges and corners with a brush. This process involves painting a border around ceilings, baseboards, windows, and door frames, creating a clean edge before using a roller on the larger wall areas. Cutting in requires steady hands and patience, but it sets the stage for a professional-looking finish.
When using a roller, apply paint in a “W” or “M” pattern. This technique ensures even coverage and minimizes roller marks. Work in sections, blending each freshly painted area into the previous one while the paint is still wet to avoid lap marks. Multiple thin coats are preferable to one thick coat, as they dry more evenly and reduce the risk of drips or streaks.
Drying times between coats are critical. Allow the paint to dry completely according to the manufacturer’s instructions before applying subsequent layers. Proper ventilation in the room also helps the paint cure more effectively and reduces odors. Patience during this stage is vital—rushing can compromise the overall quality and longevity of the finish.
Dealing with Common Challenges
Even with careful planning, challenges can arise during interior painting. Drips, streaks, and uneven coverage are common issues, often caused by overloading the brush or roller or applying paint too thickly. Using quality tools and applying multiple thin coats can prevent most of these problems. Sanding lightly between coats can also help smooth imperfections for a professional result.
Another challenge is dealing with high-humidity areas or rooms with poor ventilation. Paint may take longer to dry, increasing the risk of smudges or damage. Using fans, opening windows, and choosing paints formulated for high-moisture areas can mitigate these issues. For walls that have stains, smoke damage, or water marks, a stain-blocking primer is essential to prevent the blemishes from showing through the topcoat.
Maintenance and Longevity
Proper maintenance extends the life of your interior painting and keeps your space looking fresh. Regular dusting and cleaning of walls with mild soap and water can prevent grime from building up. Be cautious when using abrasive cleaners, as they can damage the paint finish. For high-traffic areas, periodic touch-ups may be necessary to maintain a uniform appearance.
Choosing durable paint and following proper application techniques also contributes significantly to longevity. Paints with high-quality pigments and resins resist fading, chipping, and peeling, ensuring your investment in interior painting remains worthwhile for years.
When to Consider Professional Help
While many homeowners enjoy tackling interior painting as a DIY project, there are situations where professional assistance is beneficial. Large rooms, high ceilings, or intricate trim work can be challenging and time-consuming. Professionals bring experience, efficiency, and access to specialized tools that ensure a flawless finish.
Hiring a professional can also save money in the long run. Mistakes in painting, such as uneven coverage, streaks, or improper preparation, often require repainting, which adds time, effort, and cost. Professionals help minimize these risks while providing guidance on paint selection, color schemes, and finishing techniques.
Conclusion
Interior painting is more than just applying color to walls it is a transformative process that enhances your home’s aesthetics, atmosphere, and value. By prioritizing preparation, selecting the right materials, employing proper techniques, and maintaining your painted surfaces, you can achieve results that are both beautiful and long-lasting.
Whether you choose to take on the project yourself or enlist professional help, understanding the steps and challenges involved ensures that your interior painting project is executed efficiently and successfully. From prep to finish, careful planning and attention to detail are the keys to a professional-quality, enduring result that can revitalize your living space for years to come.